
Popcorn ceilings, once a popular design trend, have become a concern for homeowners due to the potential presence of asbestos. If you’re in Ogden, UT, and considering removing your popcorn ceiling, it’s crucial to understand the risks and steps involved. This guide will walk you through the process of DIY asbestos popcorn ceiling removal while emphasizing safety and efficiency.
Understanding Asbestos in Popcorn Ceilings
What is Asbestos and Why is it a Concern?
Asbestos is a naturally occurring mineral once widely used in construction for its durability and fire-resistant properties. However, it poses significant health risks when its fibers become airborne and are inhaled. Popcorn ceilings installed before 1980 often contain asbestos, making their removal a potentially hazardous task.
Identifying Popcorn Ceilings Installed Before 1980
If your home was built or renovated before 1980, there’s a chance your popcorn ceiling contains asbestos. To confirm, you can purchase an asbestos testing kit or hire a professional to analyze a sample. Testing is essential before proceeding with removal to ensure your safety.
Health Risks Associated with Asbestos Exposure
Exposure to asbestos fibers can lead to severe health conditions, including asbestosis, lung cancer, and mesothelioma. These diseases develop over time, making it critical to handle asbestos-containing materials with care. Proper precautions during removal are non-negotiable to protect yourself and your family.
Preparing for DIY Removal
Essential Tools and Materials Needed
To safely remove a popcorn ceiling, you’ll need the following tools and materials:
- Asbestos testing kit
- Protective gear (respirator mask, goggles, gloves, and coveralls)
- Plastic sheeting and painter’s tape
- Scraper and spray bottle
- Ladder and drop cloths
- Disposal bags for hazardous materials
Having the right tools ensures a smoother and safer removal process.
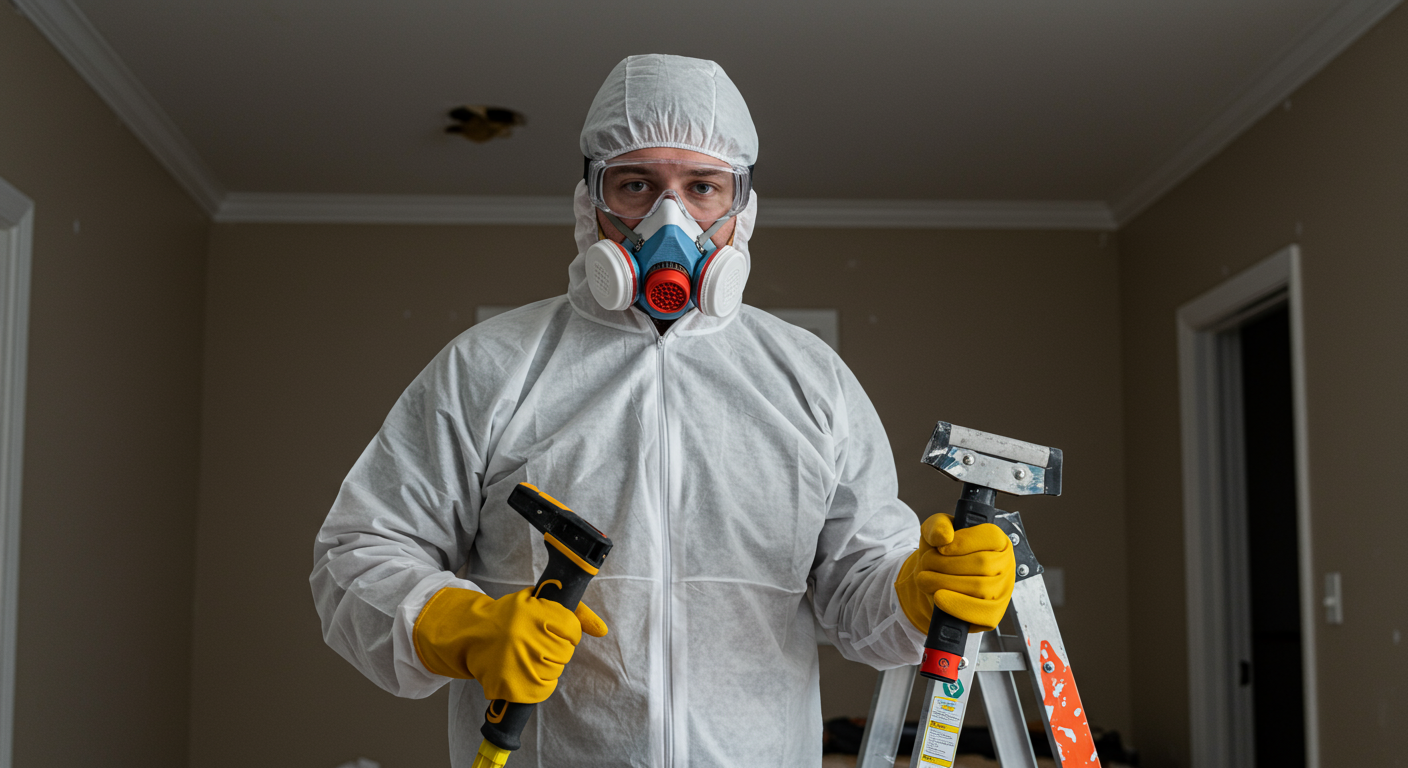
Safety Precautions: Gear Up for Protection
Safety is paramount when dealing with asbestos. Wear a high-quality respirator mask to prevent inhaling fibers, and use goggles and gloves to protect your eyes and skin. Disposable coveralls are also recommended to avoid contamination. Ensure the room is well-ventilated but avoid using fans, as they can spread asbestos particles.
Preparing Your Space: A Step-by-Step Checklist
- Clear the Room: Remove all furniture and cover the floor with plastic sheeting.
- Seal Off the Area: Use painter’s tape to secure plastic sheeting over doors, vents, and windows.
- Turn Off HVAC Systems: This prevents asbestos fibers from circulating throughout your home.
- Gather Your Tools: Arrange all necessary equipment within easy reach.
- Inform Household Members: Ensure no one enters the workspace during the removal process.
Proper preparation minimizes risks and ensures a controlled environment for asbestos removal.
The DIY Removal Process
Step 1: Testing for Asbestos
Before starting the removal process, use an asbestos testing kit to confirm the presence of asbestos. Follow the kit’s instructions carefully and send the sample to a certified lab for analysis. If the results indicate asbestos, proceed with extreme caution or consider hiring professionals.
Step 2: Removing the Popcorn Texture
- Dampen the Ceiling: Fill a spray bottle with water and lightly mist the ceiling. This helps to reduce dust and makes scraping easier.
- Scrape Gently: Use a scraper to remove the popcorn texture. Work in small sections and avoid applying too much pressure to prevent damaging the ceiling.
- Contain the Debris: Collect the removed material in disposal bags labeled for hazardous waste. Seal the bags tightly to prevent contamination.
This step requires patience and attention to detail to ensure thorough removal without spreading asbestos fibers.
Step 3: Cleaning and Finishing Touches
After removing the popcorn texture, clean the area thoroughly:
- Vacuum with a HEPA Filter: Use a vacuum designed for hazardous materials to clean up any remaining debris.
- Wipe Down Surfaces: Use damp cloths to clean walls, floors, and other surfaces.
- Inspect the Ceiling: Check for any remaining texture and remove it as needed.
Once the area is clean, you can repaint or refinish the ceiling to your liking.
When to Call in the Professionals
Signs That You Should Hire Experts
While DIY removal can be cost-effective, there are situations where professional help is necessary:
- The ceiling contains a high concentration of asbestos.
- You lack the proper tools or experience.
- The area is too large or complex to handle safely.
If you’re unsure about your ability to remove the ceiling safely, it’s better to consult a professional.
Benefits of Professional Services Over DIY
Hiring professionals ensures the job is done safely and efficiently. Experts have the training and equipment to handle asbestos removal without risking exposure. They also adhere to local regulations, ensuring proper disposal of hazardous materials.
Cost Considerations for Professional Removal
Professional asbestos removal services in Ogden, UT, typically range from $1,500 to $3,000, depending on the size and complexity of the project. While this may seem costly, it provides peace of mind and eliminates the risks associated with DIY removal.
Removing an asbestos popcorn ceiling is a challenging but achievable task if approached with the right knowledge and precautions. By following this guide, you can safely transform your space while protecting your health and the environment. If you’re unsure about any step, don’t hesitate to seek professional assistance to ensure the job is done correctly. For more tips on home improvement and safety, check out this guide on mold removal.

Leave a Reply